Sometimes these locations require more art direction. More specific features. In these cases, a lot more work is required. Here is a breakdown for how to direct Midjourney for game backgrounds.
Using Midjourney inpainting & expand with photoshop generative fill to achieve complex, very specific locations. Read the first post in the series.
This post is continuation to this post where we create the exterior of the building.
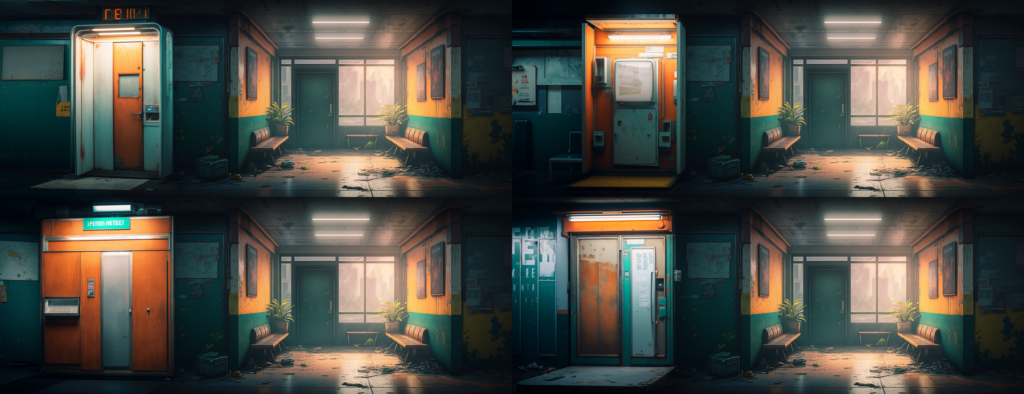
City hall waiting room interior – Using midjourney Vary(region) to update old v4 generations to support zoom out
I prompted this location way back in April. The story requires it, but the game was not yet that far along. (It now is). Usually, I would take this to Photoshop and use generative fill to expand on the image, but I found out that using Vary (region) on these older generations actually upgrades them to v5!

I just needed to go back to the original quad view, regenerate the large version of the waiting room and do a Vary (Region) pass on it. I removed the text on the door with the vary tool. It would be added back in Unity. This upgraded the image to Midjourney V5 with all the latests bells and whistles, including the Zoom out options, which you can see are missing from the v4 generation!


This tacky technique allows me to use V4 for initial scene creation, as it has a softer, less 3D look. But do the editing with V5, which is more advanced and has more control. The vary tool trick is a great alternative to using Photoshop’s generative fill exclusively. Generative fill is pretty bad at adding new items into the scenes. It does great at scene extending and removing things.
Extending the location with Midjourney
I started extending the scene to the right. An elevator was needed as a scene entry point.

Midjourney was not great at making elevators I found out, but one of the images had this open doorway I cold paint elevator doors over in Photoshop.

A classic old school Photo Booth was required in the other direction. Previously I have had a ton of issues trying to generate a Photo Booth with AI tools. This turned out to be true again.

Using reference photos for set extension
The only way I managed to get anything resembling a Photo Booth was to use a reference image of one in the prompt. First, I tried this image:

After using the reference, some of the generations started to actually look like a photo booth. But I realised that the angled reference image started to affect the actual perspective of the image. I wanted the booth to be from a front angle. So I googled for a new reference image.

The second version of a Photo Booth ref I used was from a better angle. I did not like the booth as much, but I was eager to try anything.
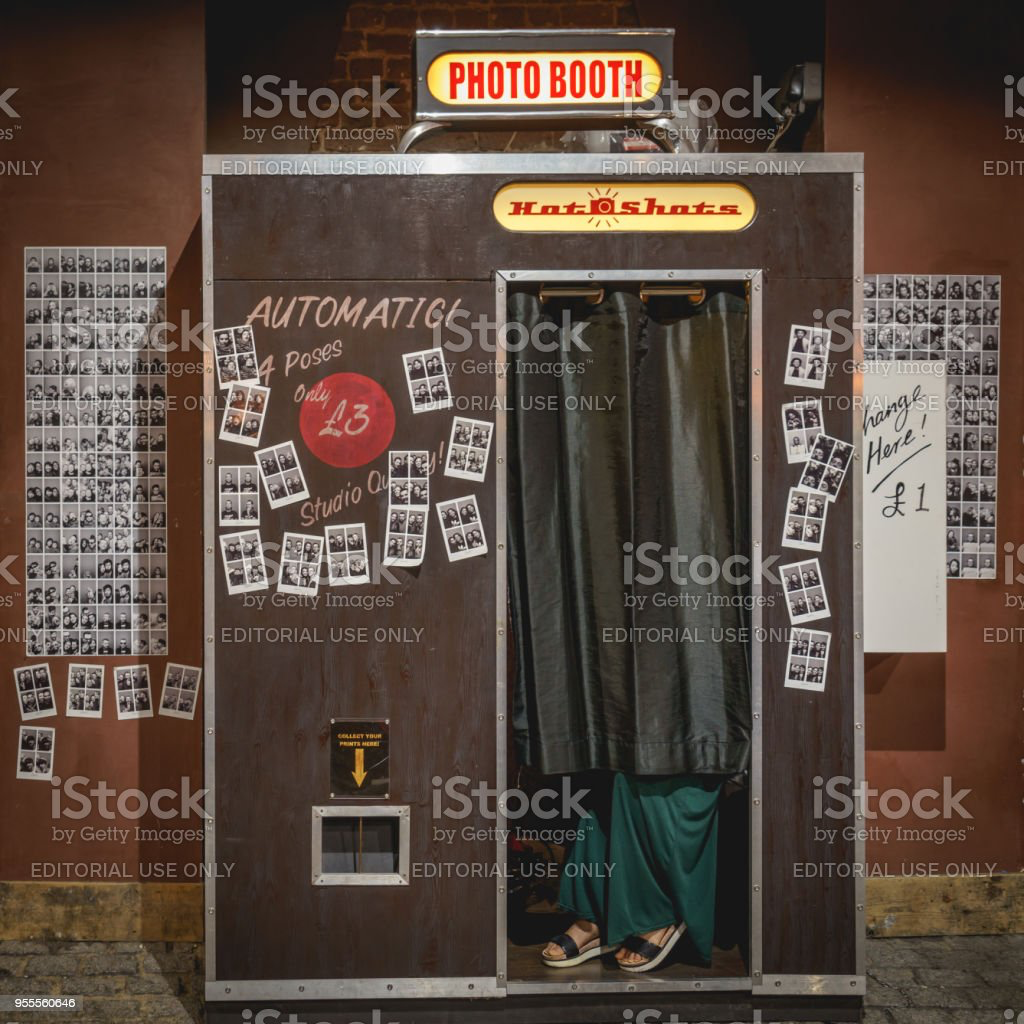
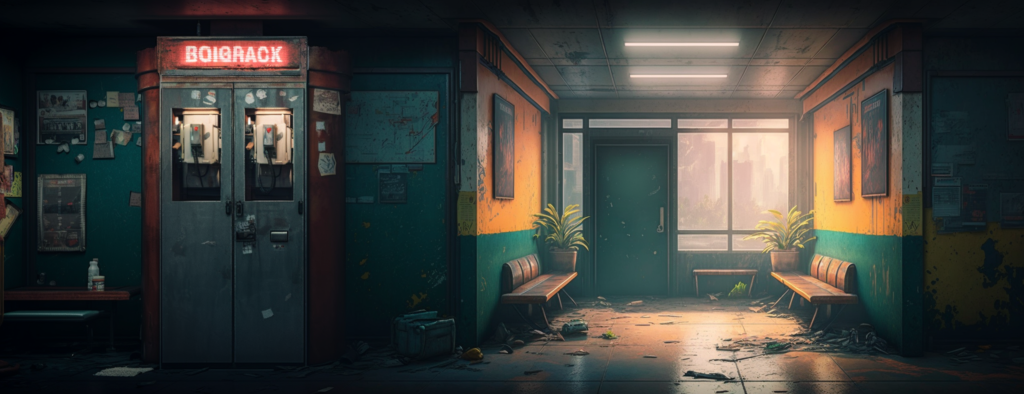
This reference image started to produce better results. These photo booths begun to look crappy like I wanted them to.

Especially this image had a booth with the feel that I always had imagined in my head. Like something forgotten.
Taking it the rest of the way in Photoshop
After this the image is taken into Photoshop. A lot of modifications will be made there.
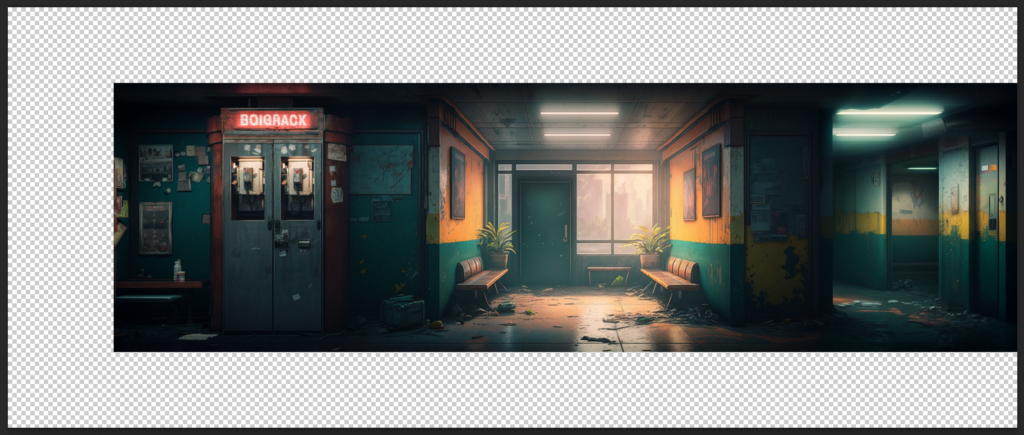
First, the elevator door is created using generative fill. In addition to generative fill, overpainting and hue & saturation and curves are used to marry the door to the location.

The Photo Booth details are kit-bashed on the image using generative fill and painting. At this point they do not need to be consistent with the style of the image too much. The work can be pretty hacky.
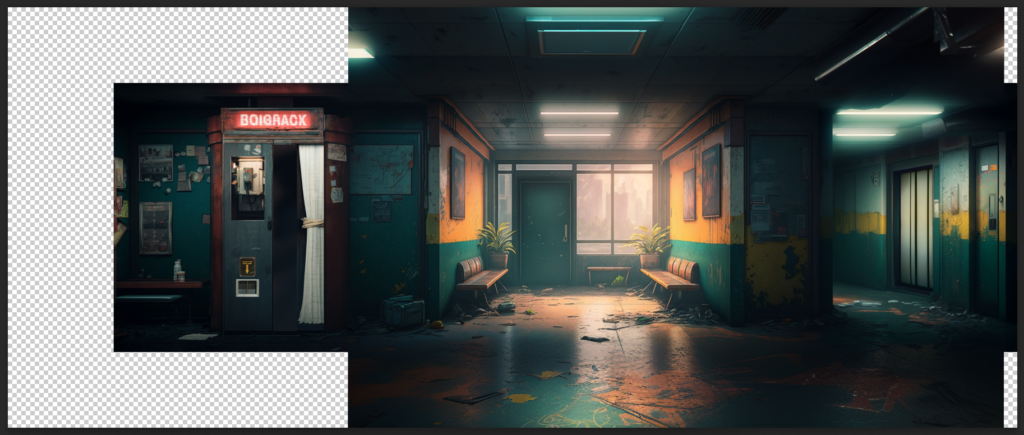
Generative fi with very faint selection can then be used to generate a final rendered look of the kit-bashed areas. This feature of generative fill makes it great for combining different elements together. But beware, it does not always create good results.

The rest of the image is then pieced together from small generative fill patches. Color grading is applied locally to the different generated areas to match the color values better.

This location will have a panning camera that freely follows the player around within a range. I have not yet had a location like this in the game to it will be an interesting challenge. In this image the red rectangle is the original midjourney generation and the white rectangle is the approximation of the 16:9 game screen.
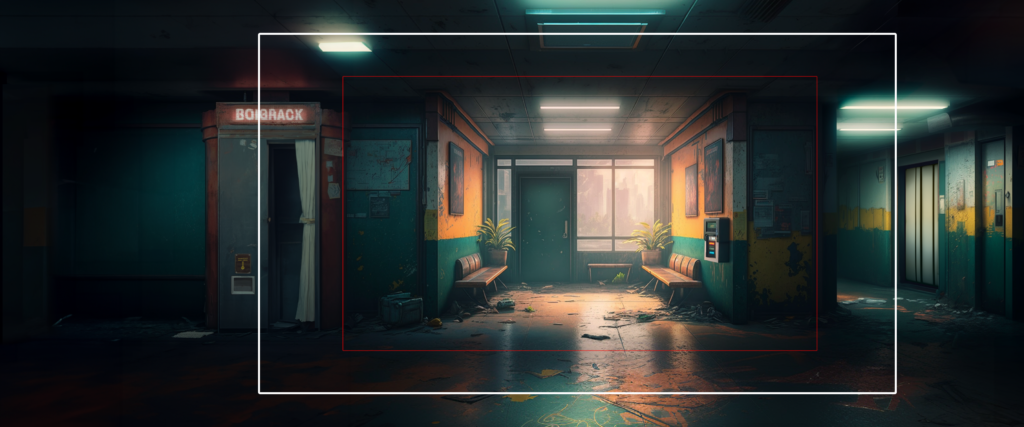
This is an another location, now ready to be turned to 3D and around into the game! With this and the exterior I already have my work cut out for me, especially as this waiting room location has 3 new human characters and one new robot!


Leave a Reply