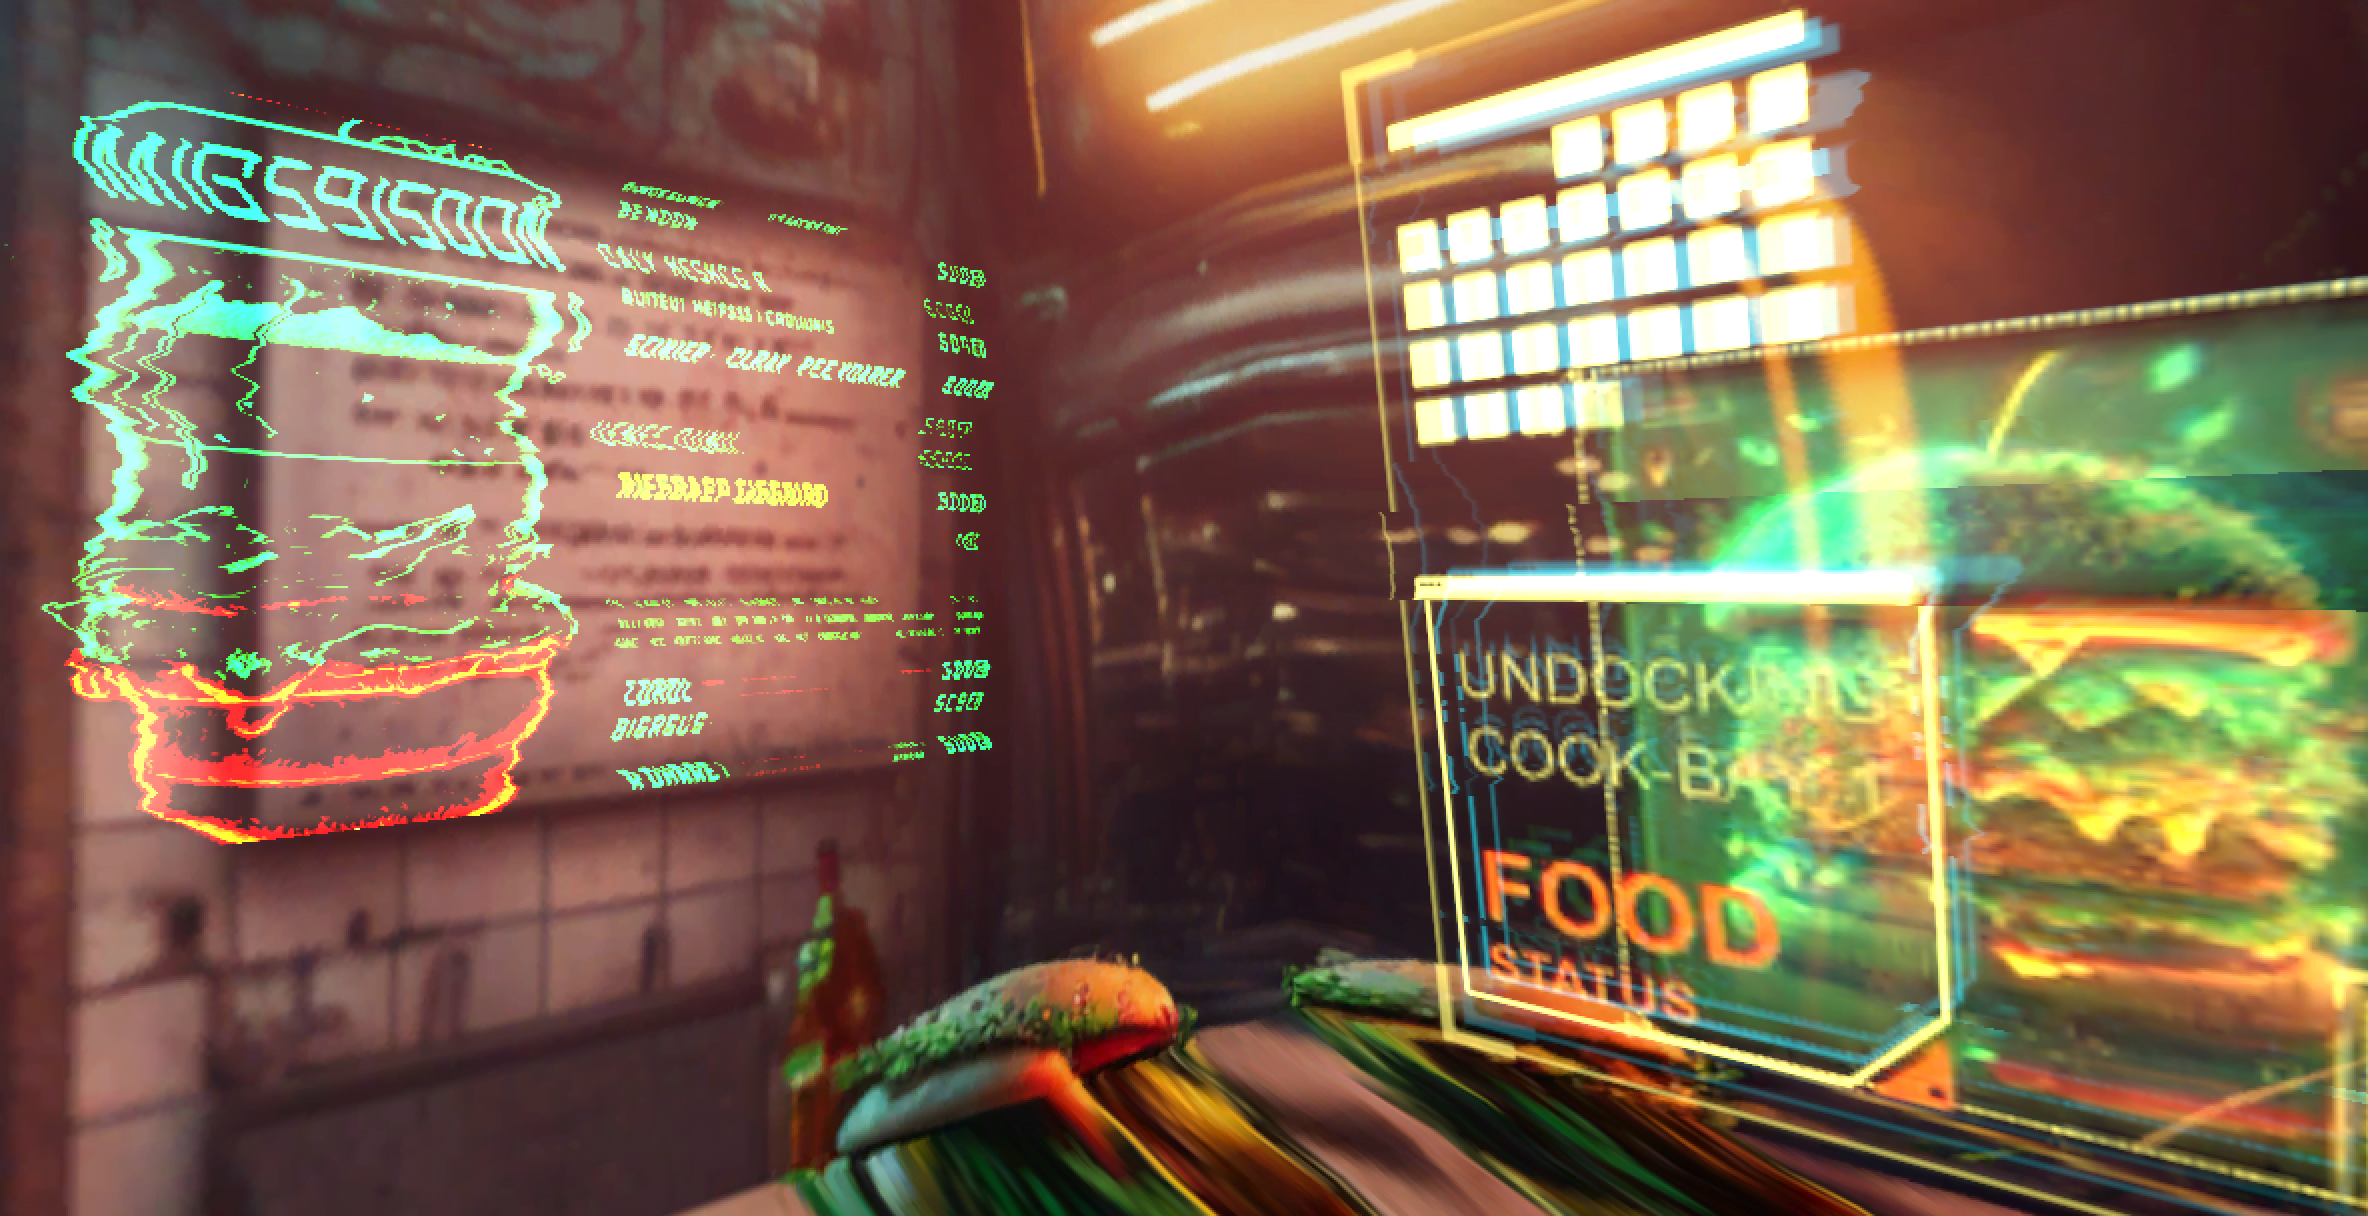
The 2D locations can feel pretty static. Especially when there are no other characters around. But I want these scenes to be full of movement and life. Luckily the cyberpunk setting allows me to add all sorts of secondary movement into the frame!
This post includes a descriptions on how to make cool flickering video frames, my particle effects workflow and how to add a video layer on a character material.
The flickering screens
This was the best part of the whole ordeal! Adding cool, flickering and distorting screens into the scene!
I had rendered one video to use as a holographic scene in the background. A simple ordering system telling what needs to be done and when it is done.
But I have no idea of the performance impact of these video textures. This scene would already have 2, maybe 3 tops, when 2 robots occupy the same room in the end.
So, I needed a way to add flicker to a 2D image to liven things up a bit without adding too much of a cost.
The features I wanted for my screen:
- Full screen flicker
- Amplitude
- Speed
- The ability to overdrive the screen brightness
- Color tint
- Horisontal distortions
- The ability to control the amplitude of the distortion
- the ability to control the coverage and frequency of the distortions
- the ability to control the width of the distortion bands
- the ability to darken the distortion bands

I created all of these effects from a single noise texture.

Shader graph to the rescue again!

I am not going to be writing a very detailed explanation of what is going on with this shader, but I will take closeup screenshots and you can look at the full graph like a map to figure out what goes where!


The basic premise is to sample a slice of the noise, Then pan that slice sideways and down. This ensures that the noise does not loop quite often. Then a step function is used on the noise to derive a mask that can be used to reveal the noise on specific bands. The band mask is then used to darken the emissive color. full image flicker is a single point sampled from the noise and it is also panning and moving down.
User control has been added to as many places as possible to achieve wildly different looks with the one shader.
UI textures
The last piece of the puzzle is the content on the still image screens. This is where the Ai comes in handy! Usually this would be a very time consuming process to come up with the content for each screen. I only did the face plate and the order status screen by hand and that took way too long.


Some of these images were directly usable, some needed to have their perspective straightened in photoshop. But this was perhaps the one use case were using AI was simply the perfect solution for the problem. Creating these screens is now so easy that I am afraid the game will be absolutely crammed with flickering and floating holograms of all and everything!
Particle effects
This is a simple addition! Particles of any kind add a ton of life to a still scene. In this case, I have added some smoke.

Naturally as the 2D image emits no light, the particles do not have any light influence either. To remedy this, I am using an unlit material that I simply color by lifetime. Bu selecting shades for the particles that correspond with the painting behind it, you can blend the particles in absolutely perfectly. Clearly this only works for particle systems that follow a pretty deterministic path in the scene.


For this scene, these settings were perfect.
Character with video layers
My goal all along was to add animation to her face visor. I planned on adding a second UV on her face and overlaying a video texture.
So, I created a second UV map for the character. But only for the face. Then I took a screenshot of it and send that over to After Effects. In AE I animated a bunch of nonsense on the visor and rendered it out as a mp4 file.

To apply it on the character’s face, I needed to create a simple shader graph. As this material did not require me to do any custom shadow rendering, I did not have to write the shader by hand, but I could use a simpler method.

The idea is simple: take the basecolor, apply some of it to the emissive channel to add a touch of cartoony lighting, apply smoothness and normal maps and overlay a video texture only on the face plate. The material is meant to be usable on all characters that require video layers. Naturally with a different secondary UV, multiple parts of the character can have their own video overlays. All in the same video file.


Leave a Reply