With the pipeline I currently had set up, it is easy to add 3D characters on top of 2D images with shadows and interactive lighting. But what about reflective surfaces? Let’s go!
The workflow for reflective locations is by and large the same as for the other locations. With some added texture requirements and steps.
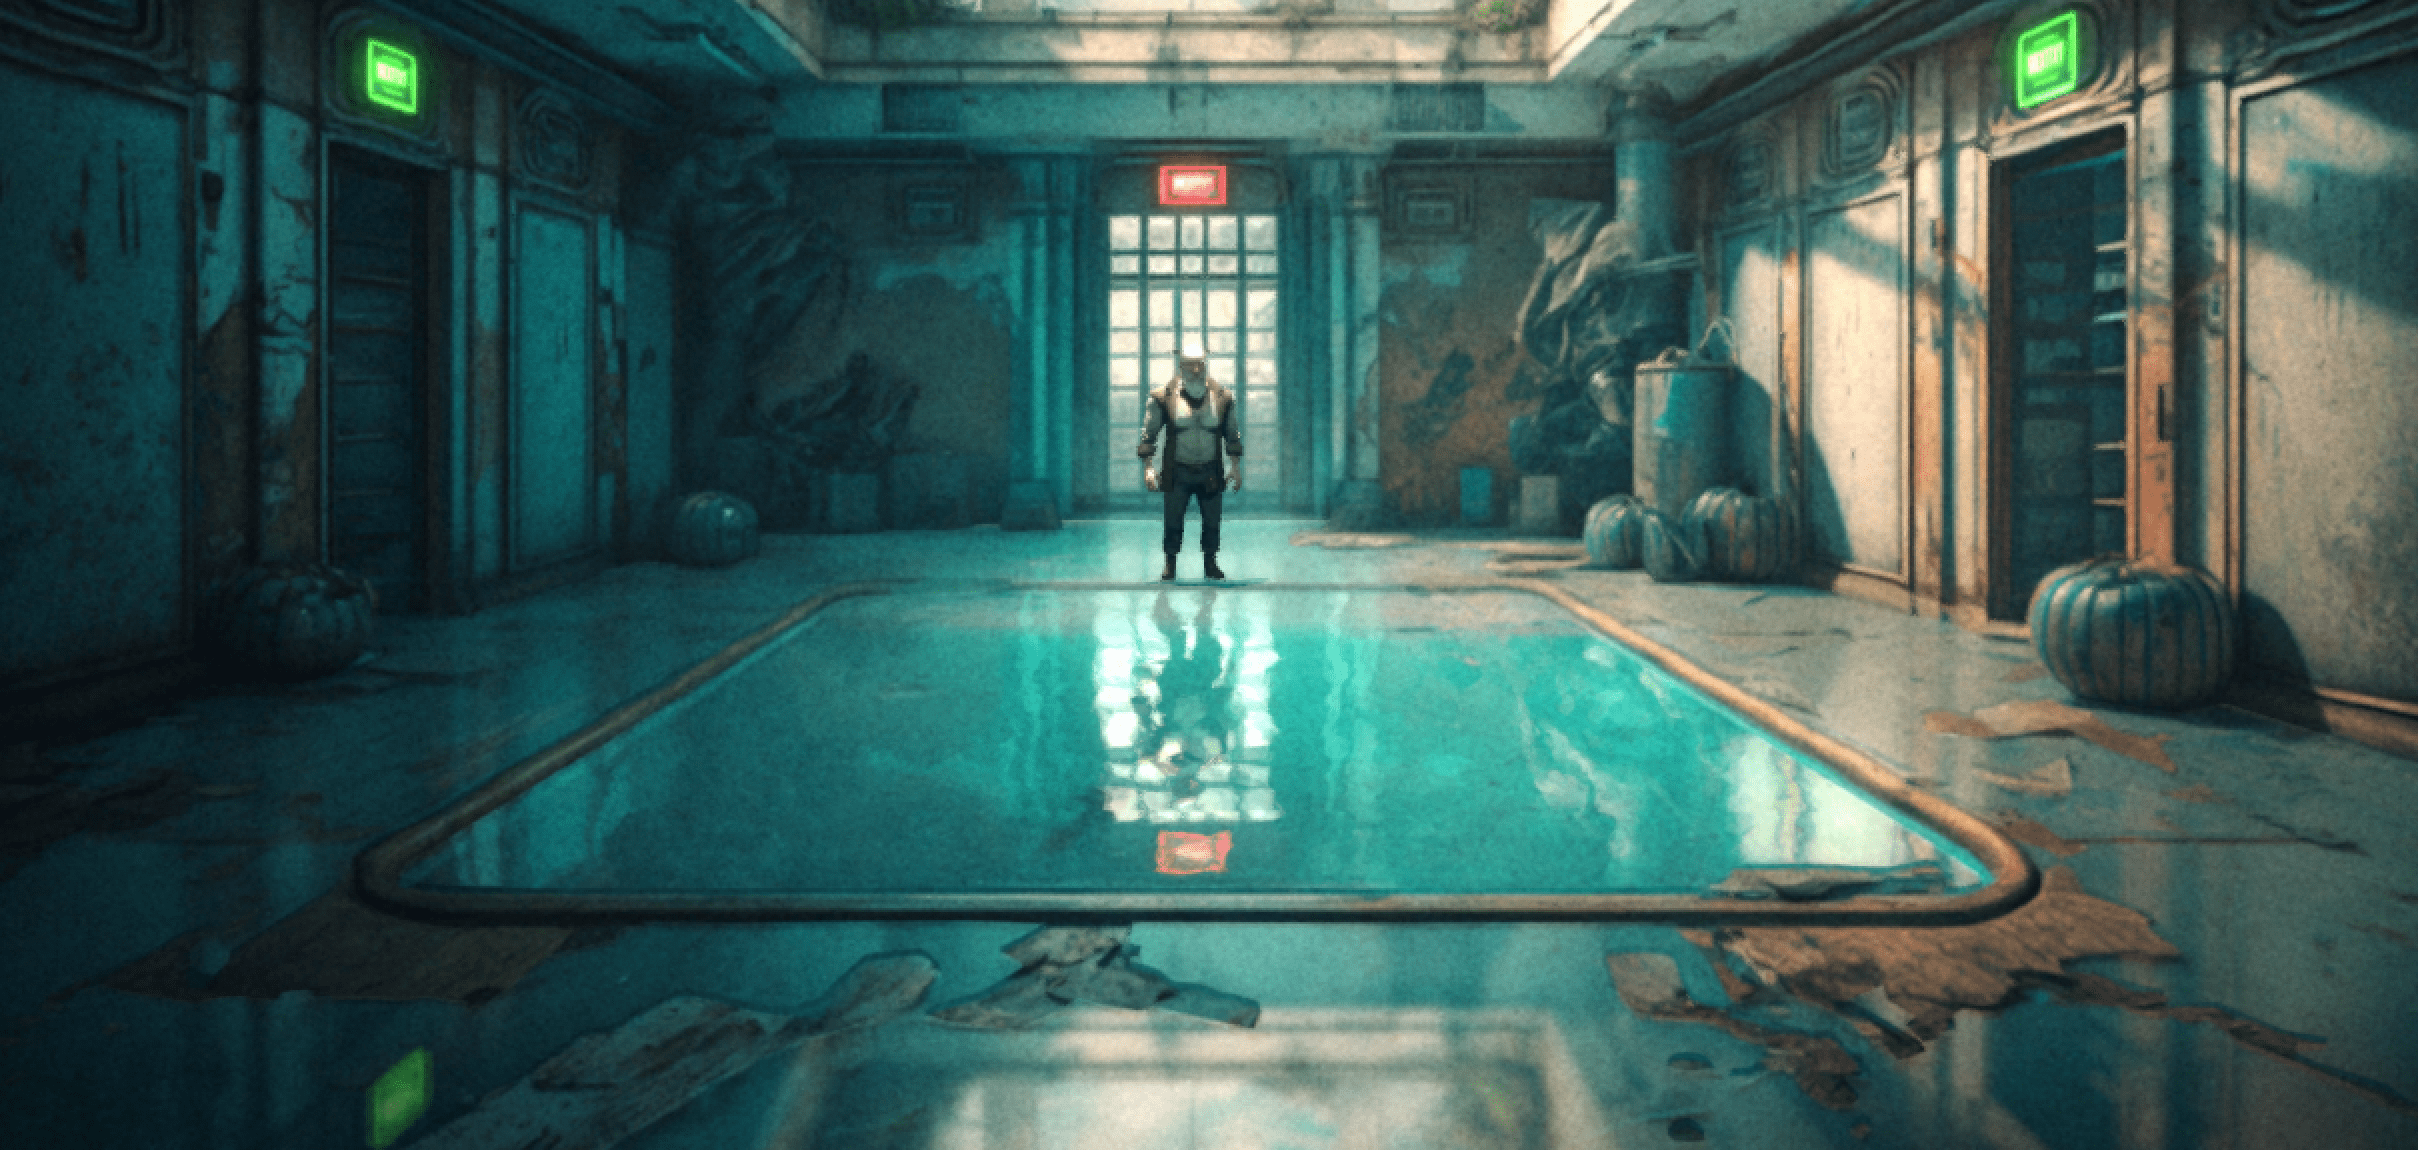
The creation of this 4 room spa location took me around 6 hours from scratch, including the prompt process. So the speed gains that can be had using AI for the locations are absolutely insane.
Breakdown
Table of contents:
- Prompting
- Preparing the image layers
- 3D modeling
- Planar reflection shader
Prompting
As always, we start with prompting in Midjourney. II try to keep the prompts simple and just do multiple generations to get something that works. For this bath scene, I generated 40 different pool areas to land one that had my requirements met: pool with walkable area behind, but not extending all the way to the camera and multiple doors to walk trough.
I also generated other locations, such a a lobby, exterior and a pump room.
cyberpunk dirty abandoned outdoors pool, multiple doors, wide angle, hdr masterpiece adventure game –ar 5:3
cyberpunk dirty abandoned spa front entrance exterior wide angle, hdr masterpiece adventure game –ar 5:3 –seed 4046812885
cyberpunk dirty abandoned spa front entrance exterior wide angle, hdr masterpiece adventure game –ar 5:3 –seed 4046812885
cyberpunk dirty abandoned spa pump engine utility room, broken, garbage, wide angle, hdr masterpiece adventure game –ar 5:3 –seed 4046812885 –no pool


Preparing the image layers
For the reflections and the lighting to work, we would need 4 versions of the background image.


The first version is the “base pass” a version of the original image with all of the reflections more or less painted away. As we will be adding realtime reflections on top of the surface, we meed this version to avoid having double reflections. I also want the character’s reflection to properly occlude bright areas from the reflection, so this pass is a must.
The second pass is the good old shadow pass. This is a version of the image that will be masked by the realtime shadow of the character. This does not need to be perfect, as only a small portion of it will be visible at all times.
New layers that are required by the reflection pass are simple black and white masks. One mask for telling the floor which areas are actually reflective. And one optional mask for driving different features of the reflection, such as water ripples and reflection blurring.
In this location, I needed to have the pool surface fully reflective, and most of the floor almost fully reflective. I went in by hand and created a selection over every small rock and piece of paper on the floor I did not want the reflections to appear on and added some vignetting and faked fresnel curve.
For the special features mask I needed to separate the pool surface from the floor for adding water ripples on the pool and adding blurred reflections on the floor.
Masks like this were also created for the lobby area. The exterior and the pump doom did not have any reflections. The lobby, however, did not require a water ripple mask. As everything reflective is water.

3D modeling
For the 3D modeling, as always, the first step is to reverse engineer the AI image camera data. Even though the images are hallucinated by an AI, the perspective in them is nearly perfect each time.
For ths I am using an app called fSpy. Here is their handy tutorial on how it works: https://fspy.io/tutorial/


Sometimes the camera data Dows not quite work out and while modeling, or even after building the scene in Unity you see that the perspective is simply wrong, it is best to just redo the fSpy step and model the location from scratch. These locations are mostly inverted boxes anyway and the workflow in Blender is super fast!

I usually work in some of the quad views, but look at the camera projection to see what I am doing. Blender is superb as it allows you to zoom and pan around the perspective doing a crop, not actually moving the camera and messing up the projection. This is absolutely amazing!
After the fist simple pass of getting the scene for in, it is time to whip out the Loop Cut -tool and add a ton more geometry to the image. If the geometry is not relatively dense, the UV projection will cause mapping artefacts on the surface akin to an old PSX game.


Here is a screenshot of a finished location in blender. The mesh is very simple. Usually for indoor locations with nothing for the player to go behind, it is a simple box that you can just slice and extrude as required.

To get the UV for the scene, in edit mode, select all of the faces of the mesh and press “u” while the mouse is hovering on the camera view and select “Project from View”
You are now ready to export the FBX to Unity (or Unreal).
Planar reflection shader
For the reflections I chose to use a plugin from the asset store called Fast Mobile Planar Reflections.
The materials in the asset are no longer compatible with the latest URP, but I only need one script from the package. A script called “PlanarURP”. This little thing renders the mirror texture for the scene from the origo of the game object it is assigned to.


This render is then send to the _ReflectionTex parameter of materials in the mesh renderer of the gameobject.
With this information on hand, we can now create any kind of shader graph that has reflections. I made mine an additive material that assigns the reflection texture (in screen space) and multiplies it with the reflectance mask.
I also distort the reflection texture screen space UVs with some normals maps and mask that with another texture.
As the final step, I also added some overly complex blurring on the reflection for smooth surfaces.


The reflection material is applied on a copy of the room floor and placed slightly above the real floor. With the masks and all of the different tricks the reflections look pretty good.

I especially like that now the character properly occludes the bright reflections from the room geometry. Also, the reflective surfaces now have accurate reflections from the room, as it is actually reflecting the 3D space, not just an approximation made by the AI.


Leave a Reply