Sometimes these locations require more art direction. More specific features. In these cases, a lot more work is required. Here is a breakdown for how to direct Midjourney for game locations using it’s vary region and pan / zoom out features.
For a city hall location in the game, I needed an exterior shot of a serious looking building. I also wanted this building to have a maglev boarding dock in front of it. I set to work using Midjourney for game locations. Especially it’s new*ish vary region tool.
Original Midjourney for game locations prompting
I had generated a city hall exterior location I liked with Midjourney V4. But this was just before the vary region tools was introduced! But I wanted to edit this image.

Editing with Adobe Firefly
I did one full edit of this location with photoshop generative fill, to extend and modify the location. I think photoshop did a great job! But I also wanted to see what would Midjourney’s new vary region and pan and zoom tools make of it.

This Photoshop generated location also looks great! It has a way different vibe to the image that Midjourney ended up creating, which is a lot more busy.
Upgrading Midjourney V4 image to V5
To enable the new editing tools on the old Midjourney generation, I had to re upscale the original image. These steps are not a requirement for new image generations, but I happened to just work on this location on the wrong time.

This results in a little bit different version of the image, but one that I can work with.

Now that I had the Vary (Region) tool available, I would use it to upgrade this generation to V5 without changing the look.

I did a minimal change on the image, something that would not matter as all, as this step is something that is not meant to edit anything, just upgrade the image to V5 controls.

Directing the Midjourney generation
Now armed with these features I could really get to work on the image, editing it to match my requirements!
First, I extended the image upwards.

Then I zoomed out to get some space around the bottom edge.

I really liked this new street level. It had a nice doorway and the reflective surface would look amazing with realtime reflections! The generation was not perfect, as the old street level from the close up image had some perspective issues, but I could fix this later.
Now it was on to the difficult part. I now had a specific plan in mind, I wanted the building street level to be a platform high above the street level, just like with the photoshop concept. This is required for the maglev train to be able to dock next to the building.
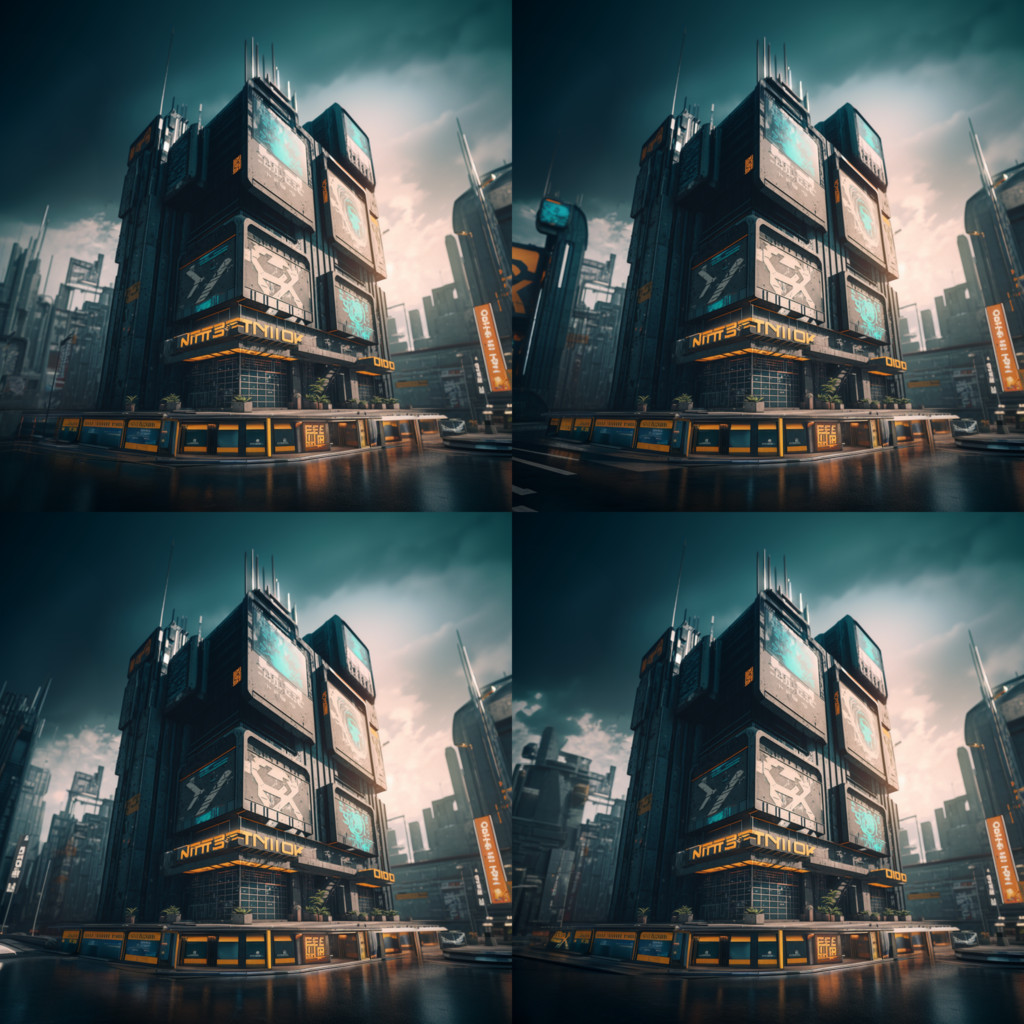


from the third group of variations, I finally found what I was looking for! A clearly defined platform edge that I could work with!

Again, I extended the image downwards to get more of the city. I would not be using the full extend of this downward view in-game, but I wanted to have as much material as possible for figuring out the final framing later. After the downward extension I made the image square.
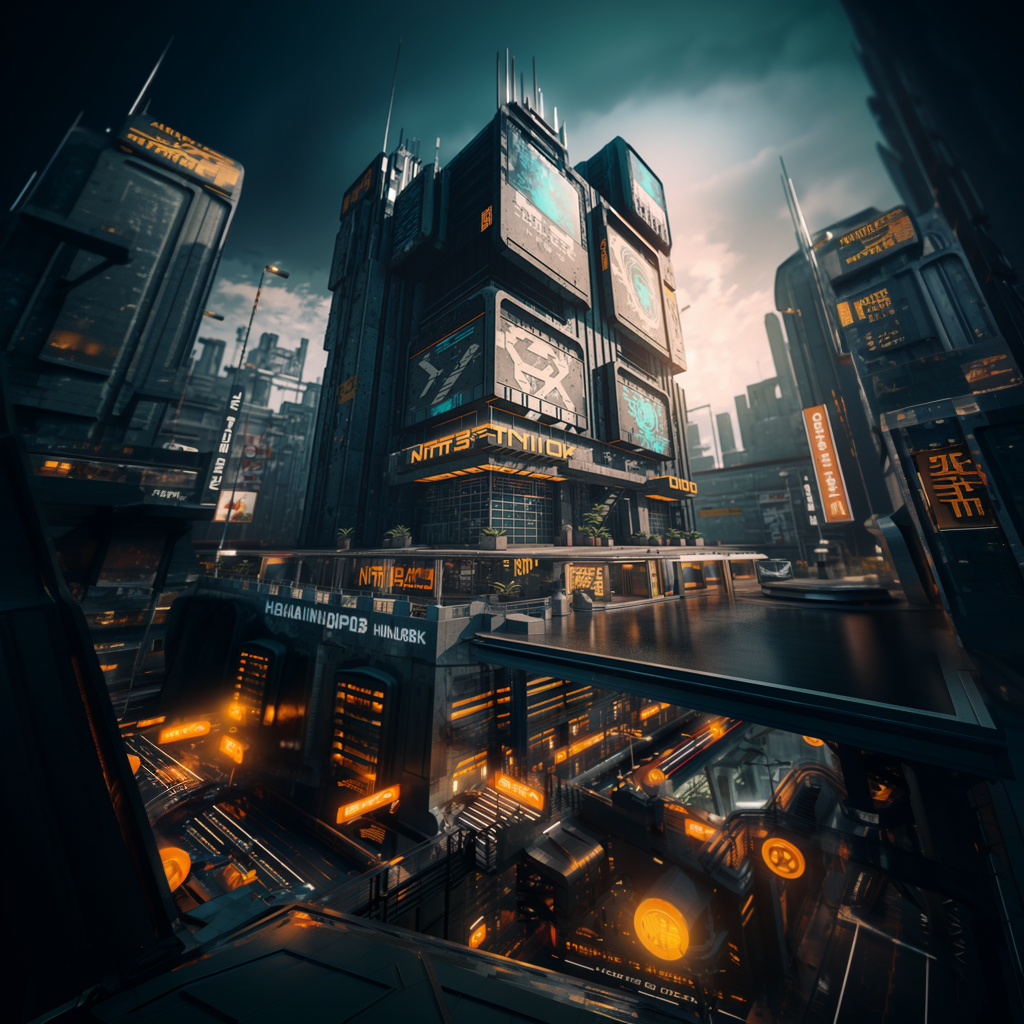
This was great, but the left side of the screen was not great for a massive train to enter from. There was a massive building on the way! I used vary region to fix that. I also fixed the messed up double street level after the ground floor and redid the bottom of the image for a better look.
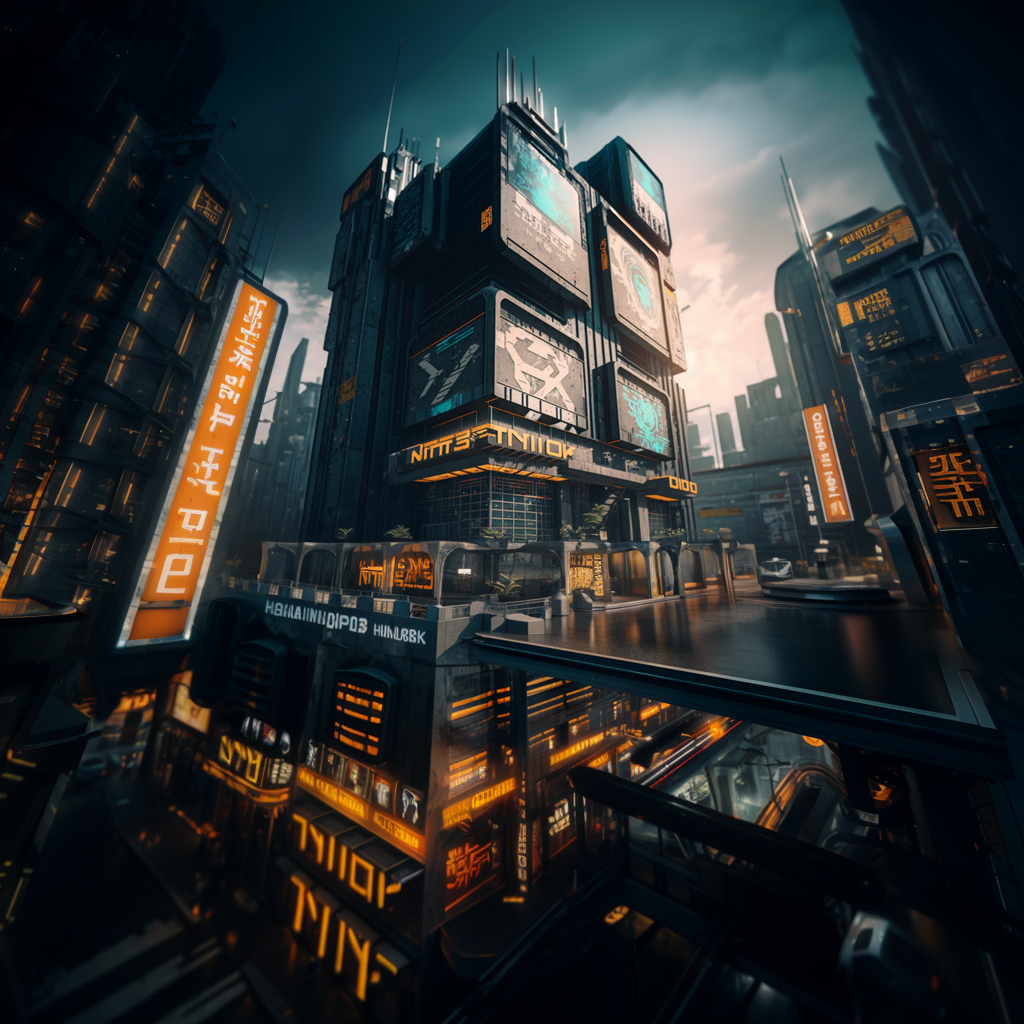
Now the left side was “open”. I could animate the train in from behind the foreground building!
One final zoom out 1.5x and I was ready to take the image to Photoshop for the final touches.
I personally consider this workflow like collage work, but with AI generated images. I believe that a lot of the photo editing work in the future will be this. Editing parts of a photo using AI, extending a photo using AI, embedding photographed elements into a photo using AI.

Final touches in Photoshop 2024
The location was starting to be pretty good, but I still needed Photoshop to take it the rest of the way. Generative fill is great for fixing issues and adding smaller details to the image.
The very first thing I did was to add simple curves to make the image less contrasty.

Generative fill was also able to get rid of some nasty banding in the sky that Midjourney had generated, maybe due to some poor quality training data.
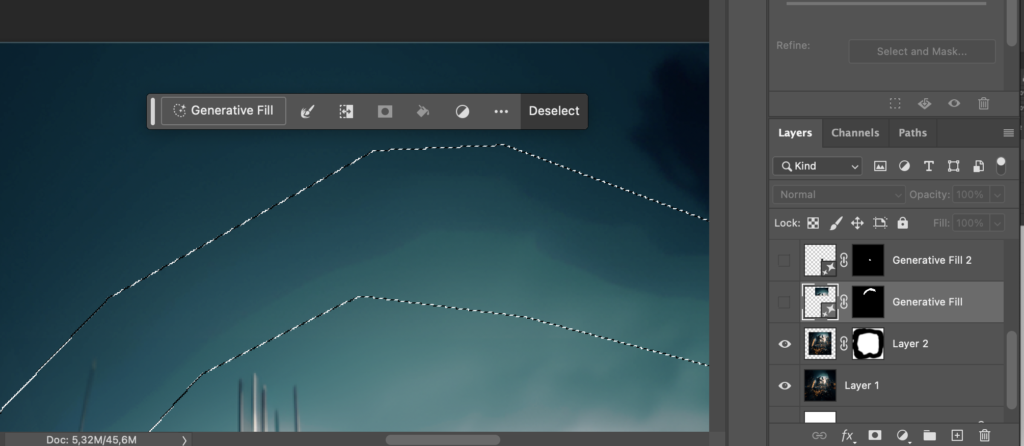

I also did some other minor edits for the location with generative fill to clean up some areas.
The next step was a fun one: how to create the docking bay for the train?
Generative Fill with hand painted direction
AKA Photoshop “ControlNet” hack
Creating the docking bay with generative fill by text prompting was a no-go. I tried it a dozen times always ending up with no change to the image. More control was required, luckily there is a way to force generative fill to use image as a guide, similar to ControlNet.
The generative fill in Photoshop has a secret trick up its sleeve! If you make a selection with 30% intensity and use generative fill, Photoshop uses a sort of ControlNet mode, where the original features of the underlying image are retained, but redone. This mode is not perfect and you may need to play with the opacity to get the results you like.
I started by painting the docking area with my trackpad. This was pretty horrible! The lines are all over the place! But I figured Adobe Generative Fill would massage it into something nicer.
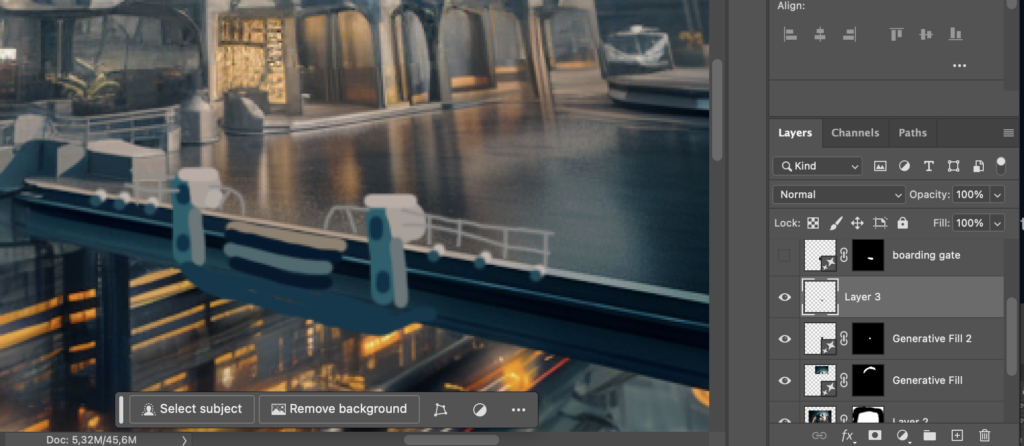
In order to force Generative Fill to use image reference, you need to create a selection around the area you wish to recreate with opacity of 30%. I do this by creating a new layer and making a selection that I then fill with the color fill tool and opacity of 30%.

In order to turn this into a selection, you must CTRL clock on the layer with the 30% fill. This will result in an error, but this is fine, as you now have a correct selection for using generative fill to turn crappy trackpad drawings into something nicer!
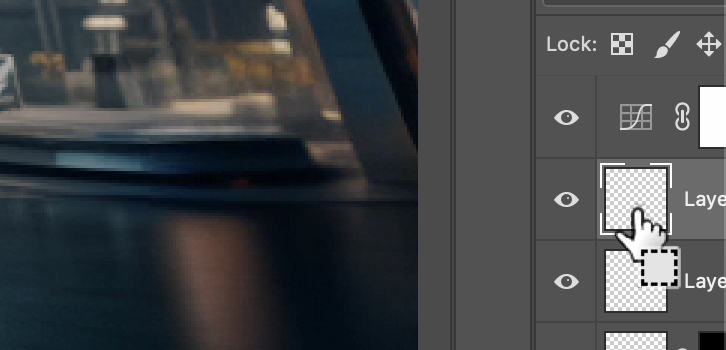

Typing in “boarding gate” to the generative fill prompt field gave me this result. I did combine it of 2 different generations. I was quite pleased with this. It looked like something!

The final image
This was the last detail required for this location and it is now ready to be turned into 3D and imported to Unity!
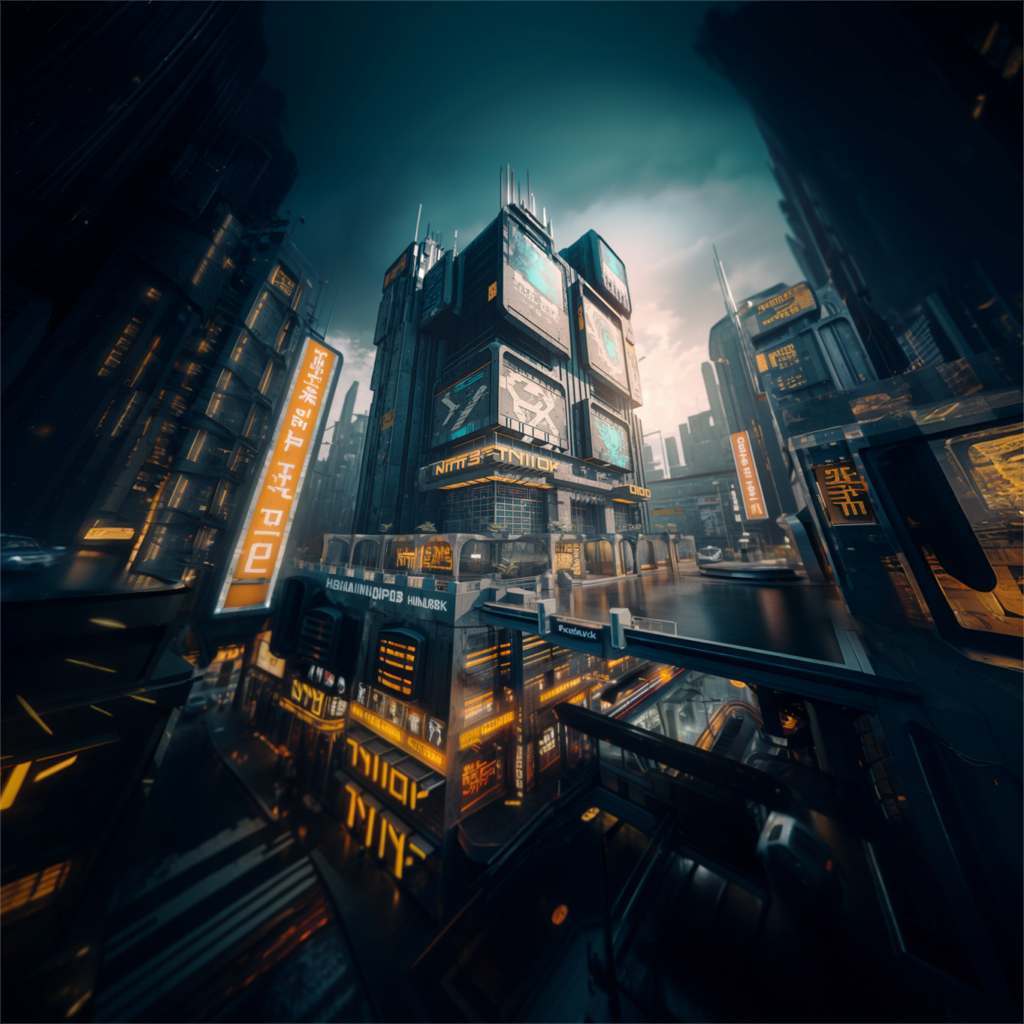
Naturally the final game screen will not be a square like this, but a 16/9 image. I just like to create these locations with a lot of extra room so I can play with the framing later.

With the introduction of the Vary Region and Pan & Zoom out features, Midjourney for game locations has finally become more viable as a tool. Even though the outcome is still mostly random, there is now a way to control that random to get around some hurdles. Especially when there needs to be multiple specific things in an image, being able to regenerate only parts of it makes life so much easier.

These features have always been part of Stable Diffusion. Midjourney was really really late to the game. It is baffling to me that it is still being used by a Discord interaface! After all this time when Midjourney does launch a standalone / web app, it better be amazing!
I will already begin to build the level using this lower resolution generation, but there is one more step in the scene creation process: the upscale. This city location will later be upscaled to 8K with stable diffusion, where all the areas will get a layer of additional detail that is still missing from the images.





Leave a Reply